Peanut Butter Chickpea Protein Bars
Protein Bars. Do you love them? Do you hate them?
I have a love/hate relationship with them.

Let me explain...
I am not a fan of most "health" protein bars on the market. Many of these bars have the nutrient profile of a candy bar and I'm just not into that. Many bars that market themselves as "fiber" bars or "protein" bars have very little of those actual nutrients. What the heck? And then there are those bars that claim to be high protein...and they are (hint: there is such a thing as too much of a good thing). 35 grams of protein, but all from isolated soy and/or whey. Also, sugar is the second ingredient. No thanks.
By the way, 35 grams is a LOT of protein for a snack. If you eat those bars as a meal, fine, but let's be honest...do those bars satisfy anyone as an actual meal? Not me! I need some volume at meal times. I want to see a big plate or bowl of colorful foods that I can dig into. Maybe I'm weird...but I have a feeling some of you might feel similarly. I could go on and on about why I'm just not into most processed protein bars, but instead let me tell you about protein bars that I actually like.
And a drum roll pleeeaaaasseee.....
HOMEMADE!
Homemade protein bars are where it's at. You know me...I love using and eating real food ingredients. But I also like to keep things simple. For me, that's the best of both worlds. Simple + real food = jackpot.
Does the thought of homemade protein bars intimidate you? It did me for a long time! I didn't really want to use protein powder and honestly thought it sounded like more of a hassle than anything.
Boy was I wrong.
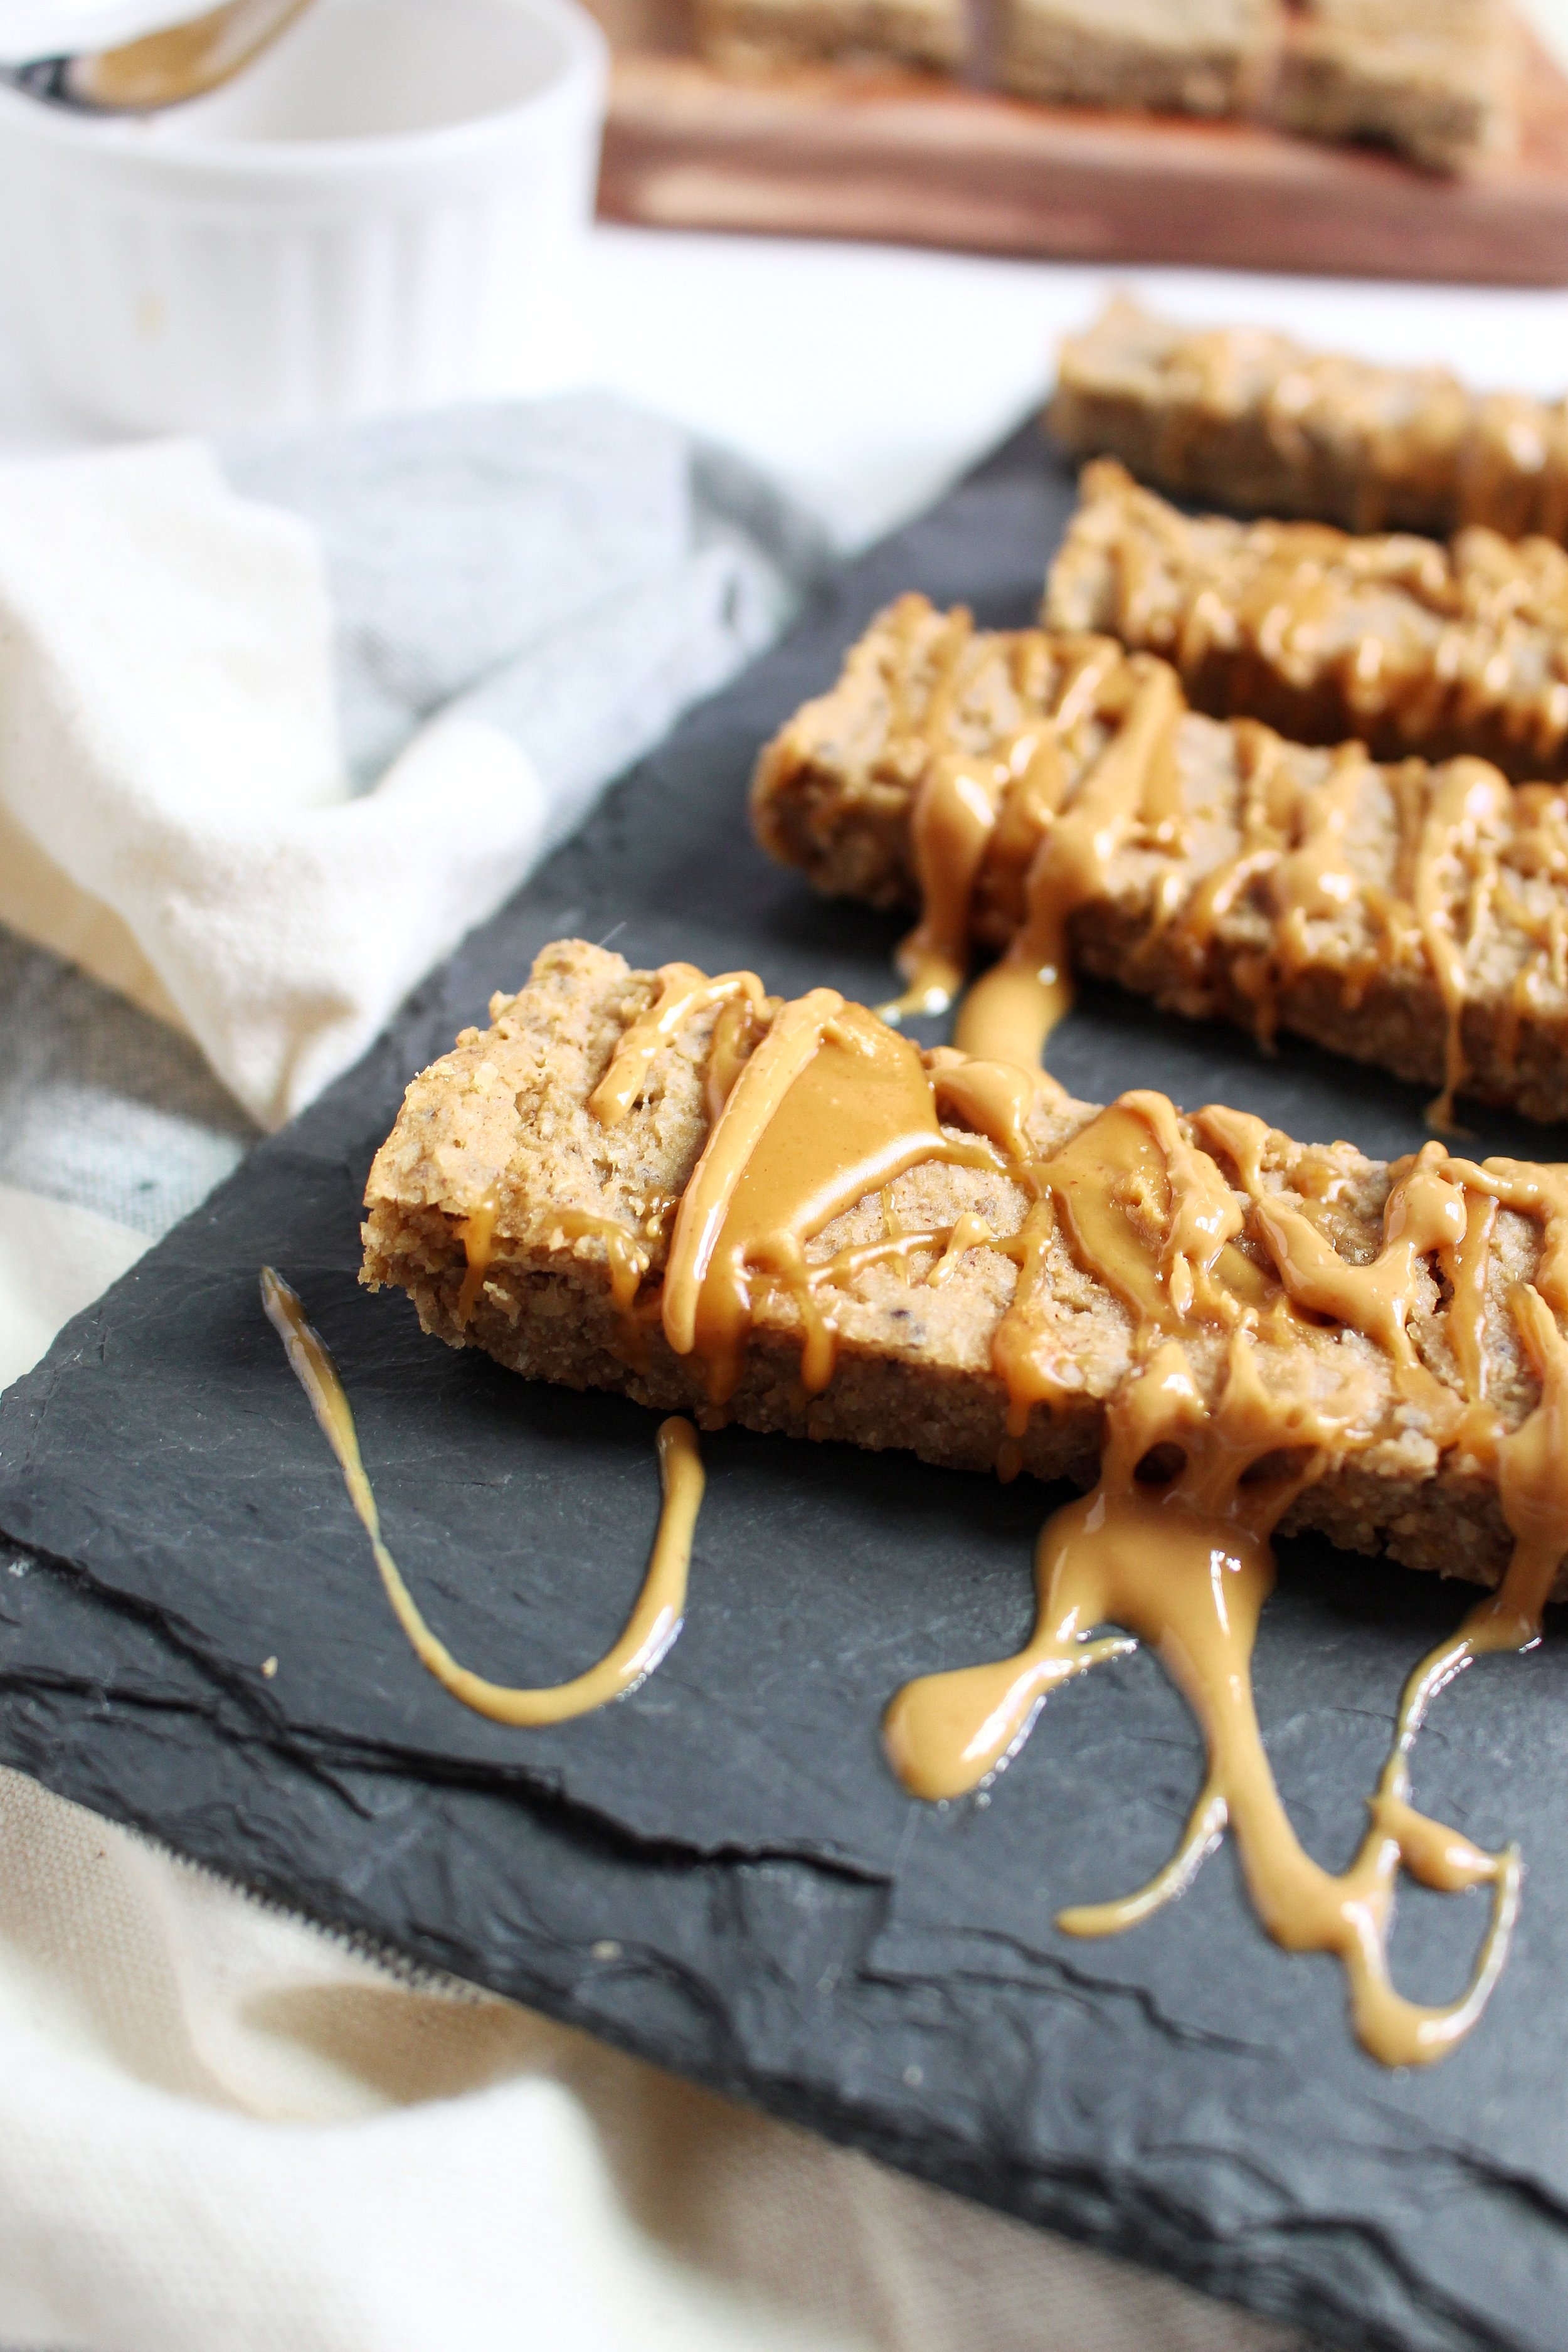
These homemade peanut butter protein bars are SO easy. And SO good! They are made with all real food ingredients and filled with protein (but not too much), which makes it perfect for between meal snacking. These guys are also perfect for post-workout fuel. They have the right ratio of carbohydrate and protein to replenish those tired muscles and glycogen (energy) stores without overdoing it.

But let's back up a minute. Let's talk about what else makes these protein bars so awesome. It's no secret that I love beans (especially chickpeas)...so why not throw them into some homemade protein bars?! Chickpeas are not only high in protein, but they are a great source of complex carbohydrate, potassium, magnesium, zinc, B vitamins, and iron. They are also naturally loaded with fiber, which is one of the reasons I love these protein bars for snacks. Fiber = a full, happy belly. A full, happy belly = a happy Lauren. You know that Snickers ad campaign "you're not yourself when you're hungry"? That's basically me in a nutshell. I'm trying to think who my hangry alter-ego is. Hmm...one of the guys from the movie Grumpy Old Men? The Hulk? Maybe a mix between the two...? Scott might have a few ideas of his own LOL. Now that I know my hangry side isn't pretty, I always have snacks with me. Always. And lately, these protein bars have been the winners. TAKE THAT, SNICKERS.
To sweeten the bar up, I used medjool dates and just a little bit of maple syrup. If you like yours a little sweeter, just add a little more maple syrup or even honey or molasses. Both would be delish!
So to recap: real food, complex carbohydrate, low sugar, lots of fiber, a healthy amount of protein.....and delicious. Who needs a Snickers bar when you've got homemade peanut butter protein bars?!

Peanut Butter Chickpea Protein Bars
|Makes 8-10 bars|
Ingredients:
- 1 (15 oz) can chickpeas (rinsed and drained)
- 5 pitted medjool dates
- 1.5 Tbsp pure maple syrup
- 1/4 cup natural peanut butter
- 1/4 cup almond flour
- 1/4 tsp baking powder
- 1.5 tsp pure vanilla extract
- 2 Tbsp chia seeds
- 2 Tbsp unsweetened almond milk
- 1/4 tsp sea salt
Instructions
- Preheat the oven to 350 degrees (F).
- Blend the chickpeas, dates, maple syrup, and peanut butter together in a food processor until smooth. Add all the remaining ingredients and blend until well combined and smooth. It should begin to form a "dough ball".
- Pour mixture into a prepared 8x8 inch pan and press down with slightly wet hands. Smooth out with a spatula.
- Bake for 15-20 minutes, or until a toothpick comes out clean. I like mine around 15-16 minutes.
- Let the pan cool for about 10 minutes, and cut into bars. Store in a baggie or Tupperware container in the refrigerator or freezer.
- Enjoy!
xoxo,
Lauren